
![[object Object]](https://imgs.michaels.com/MAM/assets/1/726D45CA1C364650A39CD1B336F03305/img/DF2C95CE10304C1FA73AAE641CA0D55E/WR76481_IRC00057-(1).jpg)
Frost Mirror Wreath
At a Glance
Over an hour
Category: Holiday & Seasonal DIYs
Intermediate
This unique, glittered mirror wreath will wow your friends and family.
Share
Share
Instructions
Step 1:
With needle nose pliers, carefully pull rubber pads from the back of the 3" mirrors.
Step 2:
Clean mirrors with rubbing alcohol to erase fingerprints.
Step 3:
With painter’s tape, mask off linear designs on the 3" mirrors, making sure the edges of the tape are burnished down tightly.
Step 4:
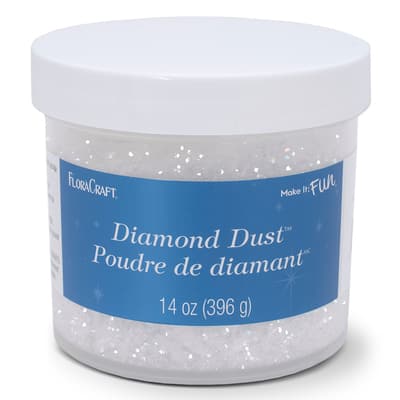
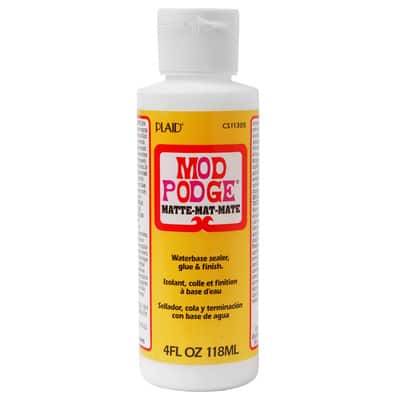
One by one, paint Mod Podge® on the exposed areas and glitter with Diamond Dust™. Let each piece dry approximately a half hour before gently pulling off painter’s tape. Gently tap excess Diamond Dust™ from the mirrors.
Tip: To reduce mess of glitter, sprinkle over a paper plate. The paper plate provides a larger space to shake off excess glitter and it can easily be folded into a funnel when returning excess to the Diamond Dust™ container.
Step 5:
Paint Mod Podge® on some of the smaller mirrors and glitter with Diamond Dust™. Let dry approximately a half hour and gently tap to remove excess glitter.
Step 6:
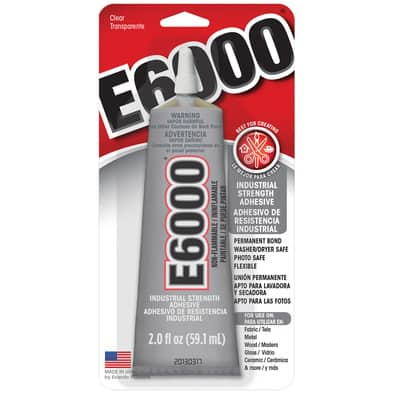
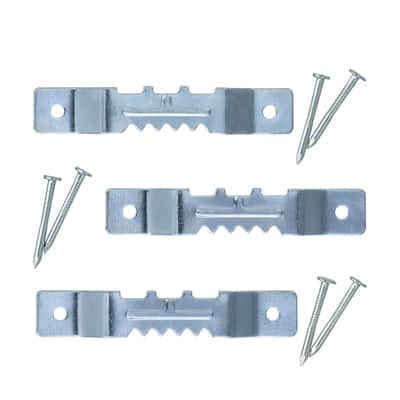
With E-6000® glue, adhere sawtooth hanger to back of wreath form. Let completely dry.
Step 7:
Lay mirrors out on the wreath form in a pleasing arrangement. Some mirrors will overlap.
Tip: Make sure that mirrors are level. If needed, hide small mirrors underneath others to create a level surface.
Step 8:
Take a photo of your wreath (before disassembling the layout) to use as a guide when attaching.
Step 9:
Remove the top layer of mirrors from the wreath and set aside.
Step 10:
With a pencil, trace around the bottom layer of mirrors as they lie on the wreath form to help you re-position them after adding the glue to the mirrors.
Step 11:
Add glue to the back side of the mirrors and adhere to the wreath. Let dry completely (approximately 6 hours).
Step 12:
Add glue to the second layer of mirrors, taking care not to glue too closely to the edge of the mirror as the glue will seep out. Adhere mirror to smooth level surfaces of mirror on bottom level and allow to completely dry.
Tip: If glue should seep out past edge of top mirror, allow glue to dry and scrape off bare mirror carefully with an X-ACTO® knife.
Step 13:
Add small glittered and bare mirrors to finish. Allow to dry completely (approximately 6 hours).
Total Time (Including Dry Time): 21 Hours
Step 14:
Share your project photos with #MadeWithMichaels
ADDITIONAL MATERIALS
Rubbing alcohol
Paper plate
Paper towels
Pencil
Masking (or painter’s) tape
Needle nose pliers
Materials You Need
(4)
$5.99
20 Percent Off Every Regular Price Purchase with Code MAY20OFF Online only
$14.99
20 Percent Off Every Regular Price Purchase with Code MAY20OFF Online only
$3.49
20 Percent Off Every Regular Price Purchase with Code MAY20OFF Online only
$3.99
20 Percent Off Every Regular Price Purchase with Code MAY20OFF Online only
Materials Items:
$22.47
Tools You Need
(0)
We would love to hear from you!