[object Object]
[object Object]

Personalized Photo Frame Wreath

[object Object]
[object Object]

At a Glance

Over an hour

Category: Holiday & Seasonal DIYs

Beginner

Share memories of your favorite friends and family with a fun Personalized Photo Frame Wreath

Share

Share

Instructions


Step 1:

Project Note:
Three of each frame are needed for this project, with the exception of the Black Clip Frame. Only one is needed. 

Step 2:

Paint the craft ring using Wedding Cake craft paint. Let dry. 

Step 3:

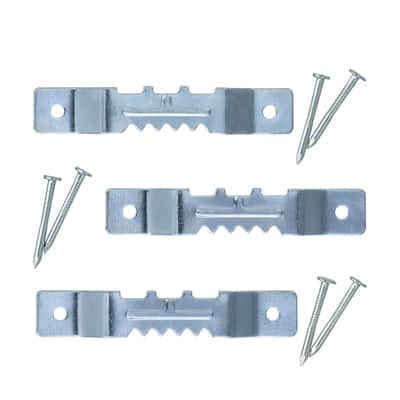
Attach the sawtooth hanger to the back of the top center of the craft ring. 

Step 4:

Carefully remove the easel piece from the back of each frame. Use the pliers and, if possible, wear gloves to protect your hands from getting cut on the metal hinges as you are prying them off. Try to maintain the backing of the frame that the easels are hinged onto because you will still need these to secure the photos into the frame. 

Step 5:

Lay the frames out around the wreath until you have a desired arrangement. You will need to overlap some of the frames to get them to fit around the craft ring.
 
Tip: Be sure to alternate the patterns as well as the angles so they aren't all angled in the same direction. 
 
Note: The small black clip frame should go at the top center and can hold a special note, a graduation announcement or a special photo. There are 12 frames in addition to the clip frame making it ideal to frame Kindergarten -11th grade photos and clipping on the senior photo. 

Step 6:

Working one frame at a time to maintain the layout you arranged in Step 3, remove the glass from the frame and lay it on top of your photo. This is an easy way to know how to crop the photo. You can either draw a line all the way around the glass, then cut along the lines with a scissors, or you can run your craft knife around the edge of the glass to cut out the photo. Clean the glass on both sides before inserting the photo and re-assembling frame. Repeat for each frame and photo. 

Step 7:

Hot glue each frame into place, one by one, leaving your layout intact as much as possible. If you feel you need to add a little extra space under a frame, you can cut up small squares of cardboard and glue them together until they are the height you need. Then glue the frame in place. 

Step 8:

Cut a 12" length of jute and tie a knot in one end. Turn the wood letter over and add a bit of hot glue into the hanging hole, then carefully push the knot into it to secure it. Holding the frame upright, thread the other end of the jute through the sawtooth hanger on the back of the frame and position the letter at the length desired. Knot the jute onto the hanger. 

Step 9:

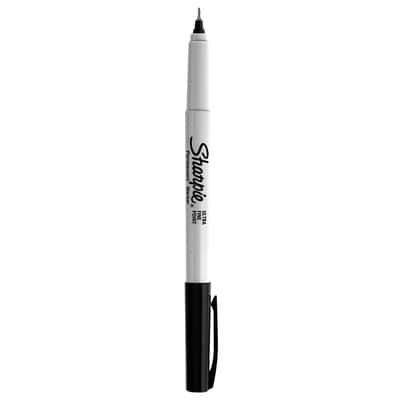
Cut the white cardstock to 2"x3" and write the graduate's name and graduation year. Clip this to the black clip frame at the top of the wreath. 

Tip: Wear protective gloves when prying the easels off the back of the frames to prevent cutting yourself on the metal hinges. 
 

Step 10:

Share your project photos with #MadeWithMichaels 

ADDITIONAL MATERIALS


Vintage wood letter – r (sku 10410213)

Mini frame

2""x3"" – white distressed (sku 10286956)

Mini frame

2""x3"" – black clip (sku 10393726)

Work gloves (recommended)

Pliers

Glass cleaner

All purpose glue sticks

Hammer

Paintbrush

Hot glue gun

Craft knife

Scissors

Paper towel

Photos

White/charcoal swirl frame (sku 10393766)

Frame - quatrefoil black/white (sku 10393768)

Recollections® smooth cardstock

8½""x11"" – white (sku 10268544)

Materials You Need

(2)

Sawtooth Picture Hanger by Studio Décor® image

Sawtooth Picture Hanger by Studio Décor®

$3.99

20 Percent Off Every Regular Price Purchase with Code MAY20OFF Online only

1 Required

Sharpie® Black Ultra Fine Point Marker image

Sharpie® Black Ultra Fine Point Marker

$1.79

20 Percent Off Every Regular Price Purchase with Code MAY20OFF Online only

1 Required


Materials Items:

$5.78

Tools You Need

(0)

We would love to hear from you!