
![[object Object]](https://imgs.michaels.com/MAM/assets/1/5E3C12034D34434F8A9BAAFDDF0F8E1B/img/8FAB8E2758F3456F83A7C9C21B34022C/B_89714_1.jpg)
![[object Object]](https://imgs.michaels.com/MAM/assets/1/5E3C12034D34434F8A9BAAFDDF0F8E1B/img/8864A4E7E3B24BC28EE411EAC58AA3DA/B_89714_2.jpg)
Hooray First Day Photo Prop
At a Glance
About 30 minutes
Category: Classroom
Beginner
Share
Share
Instructions
Step 1:
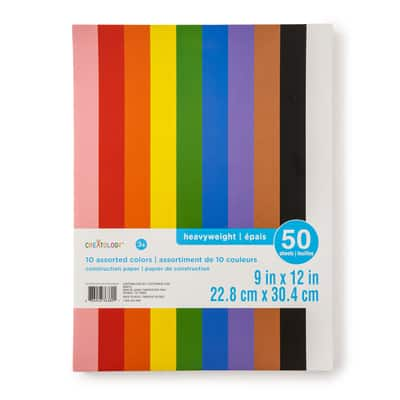
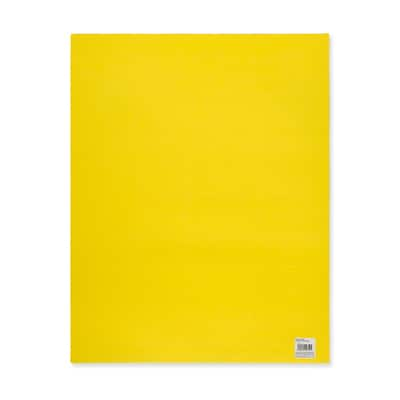
Use a ruler to make a 10" [25.4cm] line down the center of the longest side on the yellow poster board and cut down the line to give you a 10"x28" [25.4cm x 71.1cm] rectangle.
Step 2:
Now, make a pencil mark at the 5" [12.7cm] center. Use the ruler to draw even angles on each side from the mark, like the point at the end of a pencil. Cut off the corners to finish off your very large pencil shape.
Step 3:
Lay the large pencil point on top of a piece of brown construction paper and trace the sides. After you traced the point, use a ruler to connect the ends to complete a triangle. Cut out the shape.
TIP: This shape represents the sharpened area.
Step 4:
Repeat Step 3 for the lead but on a piece of black construction paper.
Step 5:
Now for the eraser, cut a narrow rectangle to fit over the end of the pencil in pink construction paper. Glue the pieces to the yellow poster board.
Step 6:
Use your repositionable letter pack to lay out the child’s name and grade (or if you are a teacher, just the grade); then use a glue stick to glue them in place.
Step 7:
Add a photo and the first day of class!
Share your project photos with #MakeItWithMichaels
ADDITIONAL MATERIALS
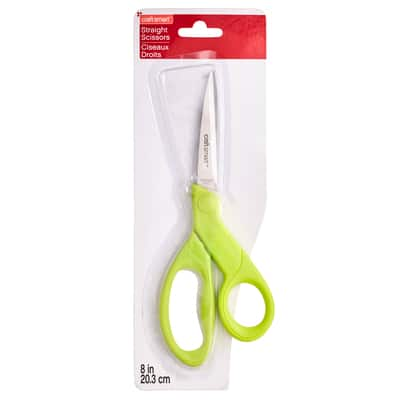
Pencil
Ruler
Materials You Need
(1)
$2.99
25% off Every Regular Price Purchase with code 25OFFNOW Online only
Materials Items:
$2.99
Tools You Need
(2)
$4.99
25% off Every Regular Price Purchase with code 25OFFNOW Online only
$1.19
25% off Every Regular Price Purchase with code 25OFFNOW Online only
Total Items:
$4.99
We would love to hear from you!