![[object Object]](https://imgs.michaels.com/MAM/assets/1/5E3C12034D34434F8A9BAAFDDF0F8E1B/img/15C326F0573E44AF8130B70408304A62/B_93273_1.jpg)
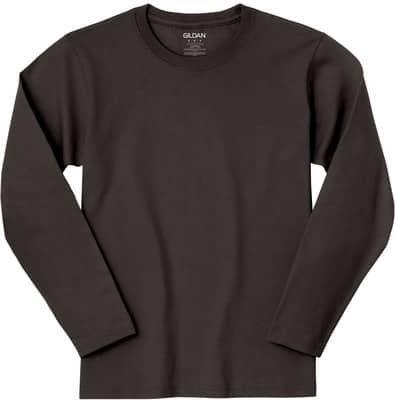
Jersey Number Long Sleeve T-Shirt
At a Glance
About 30 minutes
Category: Cricut®
Beginner
Make a t-shirt to wear on game day! Whether it is soccer, football or any other sport, show some spirit with a DIY t-shirt!
Share
Share
Instructions
Step 1:
First, click here for the design in Cricut® Design Space™.
TIP: Use the design to update the name and/or number as needed or start fresh and design your own jersey back!
Step 2:
Size the design as you would like it to appear on your t-shirt.
Step 3:
Click ‘Make It’ in the upper right corner of your screen.
Step 4:
In your preview screen, check ‘Mirror’ in the left panel for each mat, to reverse your image.
Step 5:
Now, click ‘Continue’ in the bottom right corner of your screen and choose the material for your first layer.
Step 6:
Place the iron-on material, shiny-side down, onto your cutting mat. Load the mat into your Cricut® machine, then press the blinking Cricut® icon to start cutting.
Step 7:
Once your machine is done cutting, use scissors to cut your design from the iron-on material rolls. Next, use your weeder tool to remove all the excess material around and inside your design. You’ll be left with just the reversed design on the clear plastic carrier sheets, which are slightly sticky.
Step 8:
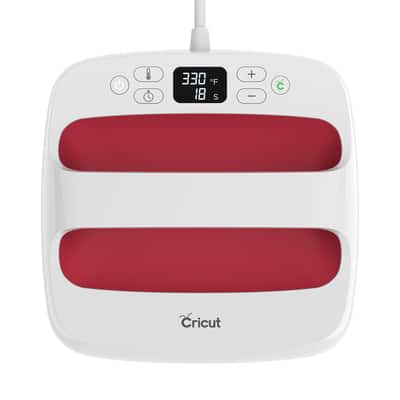
Preheat your EasyPress™ to the appropriate temperature for your material and, if needed, adjust the timer.
TIP: See the Quick Reference Guide, included with your EasyPress™, for temperature and time or click here for an interactive guide. You can also use an iron to press your material. Just follow the instructions included in the iron-on material packaging.
Step 9:
Place your t-shirt on top of your EasyPress™ mat and then preheat the fabric for 5 seconds.
Step 10:
Place the carrier sheet with your design, so it’s sticky-side down, onto your t-shirt. You should be able to see the layer through the carrier sheet, just as it will appear once ironed.
Step 11:
Place your EasyPress™ on top of the design, apply the appropriate pressure for your material and press the time button. Once it beeps, flip over your t-shirt and press for another 15 seconds. If your material is the warm peel type, you may go ahead and peel off the carrier sheet. If your material is a cool peel type, let it cool completely before removing the carrier sheet.
Share your project photos with #MakeItWithMichaels
ADDITIONAL MATERIALS
Computer
Materials You Need
(1)
Materials Items:
$9.99
Tools You Need
(6)
$9.99
25% off Every Regular Price Purchase with code 25OFFNOW Online only
$11.24
Reg.$14.99
25% Off Online or Buy One Get One 50% off mix & match in stores
$249.00
Reg.$299.00
CLEARANCE
Total Items:
$134.21
We would love to hear from you!