![[object Object]](https://imgs.michaels.com/MAM/assets/1/5E3C12034D34434F8A9BAAFDDF0F8E1B/img/720345C261FB4F408A38CC03DC7F1875/B_88373_1.gif)
Kids Glow Halloween Bracelet Stack
![[object Object]](https://imgs.michaels.com/MAM/assets/1/5E3C12034D34434F8A9BAAFDDF0F8E1B/img/720345C261FB4F408A38CC03DC7F1875/B_88373_1.gif)
At a Glance
About 30 minutes
Category: Halloween
Beginner
Share
Share

Instructions
Download Instructions
Step 1:
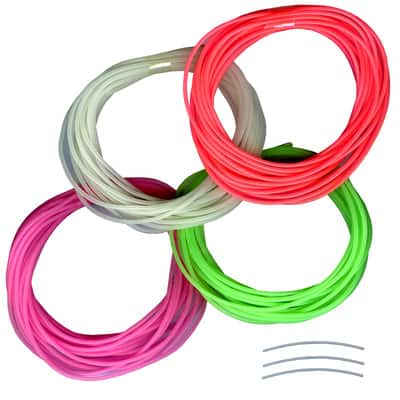
Step 1 For the paracord knot bracelet, measure and cut a 72" length and 24" length from your glow cord.
Step 2:
Step 2 Tie a double overhand knot about 6" from one end of your 24" cord. This will be your base, center cord.
Step 3:
Step 3 Tape the cord to your working space, above the knot.
Step 4:
Step 4 Find the center of your 72" cord by folding it in half and tie it onto the center cord.
TIP: The cord that is on the left side will be (A) and the cord on the right side will be (B).
Step 5:
Step 5 Bring one of the A strand sides up and cross the D strands horizontally in front, making a loop on one side.
Step 6:
Step 6 With the other long side of the A strand, wrap it around the first long paracord, on the opposite side of the loop. Insert the end of the second A strand through the loop of the first piece of the A strand and pull tight.
Step 7:
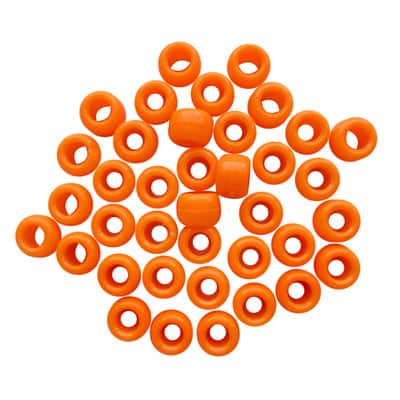
Step 7 Continue the braid by alternating the loops, front then back, until you reach the desired length. After a few braids, slide a pony bead onto your base cords the continue your braid around the bead.
Step 8:
Step 8 Tie a double overhand knot just below your last paracord knot. Add a dab of glue at the top of the excess strands just as they come out of the knot. Let dry.
Step 9:
Step 9 Push the excess A and B strands aside. Cut each end of the center strand to about 3½" from each knot at the top and bottom of your pattern. Bring the ends around so your bracelet is in a round shape and crisscross the strands in the center.
Step 10:
Step 10 Cut a 12" piece of cord and tie it over the crisscross of the D strands, holding them together.
Step 11:
Step 11 Make about five paracord knots around the two crisscrossed ends. Tie the ends in the back of the paracord knot. Add a dab of glue over this knot. Be careful not to get glue on the cords inside the paracord knots. Let glue dry.
Step 12:
Step 12 Tie a knot to the end of each excess cord to keep it from sliding through the paracord knot.
Step 13:
Step 13 Trim all excess strands.
Step 14:
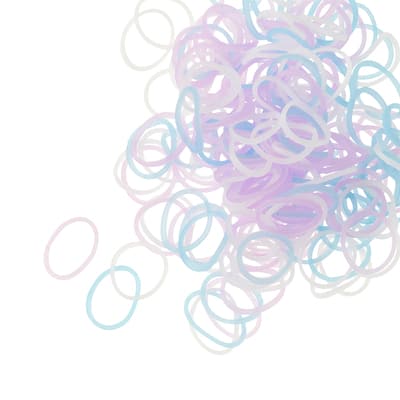
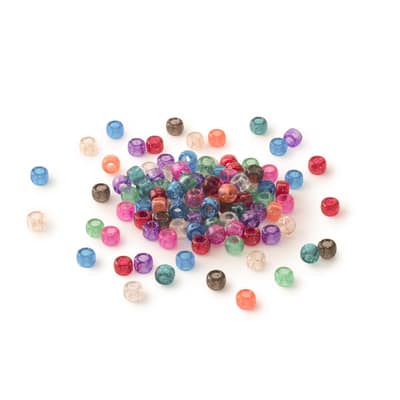
Step 14 For the two simple Rainbow Loom® bracelets, thread about 17-18 rubber bands through pony beads.
Step 15:
Step 15 Place a rubber band across your pointer and middle finger with a twist in the center. Place a second rubber band across the same two fingers without a twist.
Step 16:
Step 16 With your hook, take the bottom rubber band, move it over the finger and place it in the center. Repeat on the other finger.
TIP: The first rubber band is now off of both fingers but wrapped around the second rubber band in the center.
Step 17:
Step 17 Place a rubber band with a pony bead across the two fingers where the pony bead is suspended between the two fingers. Repeat Step 16.
Step 18:
Step 18 Repeat Steps 16-17 with alternating rubber bands between without a pony bead and with a pony bead until you reach the desired bracelet length.
Step 19:
Step 19 Use a plastic clip to close the bracelet.
ADDITIONAL MATERIALS
Materials You Need
(4)
Rainbow Loom® Glow in the Dark Refill Bands
$3.99
40% off Every Regular Price Purchase with code WOWSAVE40 Online only
1 Required
Glow in the Dark Pony Bead Lacing by Creatology™
$5.99
40% off Every Regular Price Purchase with code WOWSAVE40 Online only
1 Required
Opaque Pony Beads by Creatology™, 6mm x 9mm
$5.99
40% off Every Regular Price Purchase with code WOWSAVE40 Online only
1 Required
1lb. Multicolor Pony Beads by Creatology™, 6mm x 9mm
$11.99
40% off Every Regular Price Purchase with code WOWSAVE40 Online only
1 Required
Materials Items:
$27.96
Tools You Need
(0)
We would love to hear from you!


