
![[object Object]](https://imgs.michaels.com/MAM/assets/1/1C288C8187C148F19FFC03514859AEB7/img/F8066A964D184CC7847CADA1A67BFE26/B_86863_1.jpg)
Photo Transfer Canvas Art
At a Glance
About an hour
Category: Crafts
Intermediate
Share
Share
Instructions
Step 1:
First, use a laser jet printer to print out a mirror image of your photo in black and white.
TIP: For this project, the best photos will be close-up shots from the shoulders up, as opposed to full body or group shots. Make sure you print a mirror image of your photograph, since the image transfer process will reverse your original. This means that, if you don’t mirror your image, the final piece will be backwards. This will be especially noticeable if you have words in your photo!
Step 2:
Use scissors to trim away any excess paper around your photo, like white space or unimportant background. This part doesn’t need to be perfect!
Step 3:
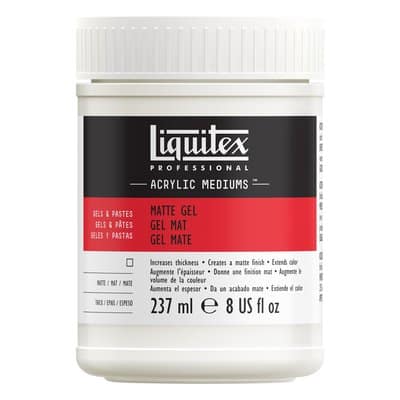
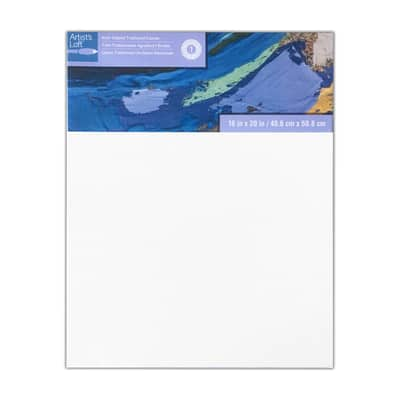
Next, evenly apply a generous coat of matte medium onto your canvas. Do the same for the ink side of your laser jet photo print. Before either surface can dry, place the photo, ink-side down, onto the matte medium-soaked canvas. Smooth out any air pockets; then let the canvas and print set together for at least eight hours.
TIP: Be sure to smooth out all air pockets or bubbles between the canvas and your print. Since they prevent your print from making contact with the canvas, they’ll also prevent the image from transferring properly.
Step 4:
Once the eight hours are up, use a bucket of water or a sponge (or even your hand) to spread water on the paper, allowing it to soak in; then, with a decent amount of pressure, rub the paper that’s on the canvas, until it begins to disintegrate under your fingers.
TIP: Don’t worry if a few areas of your photograph are rubbed off as you complete this step. This is a natural part of the transfer process and it adds to the final look of your piece. However, if you notice that a significant amount of your photo is disappearing, this is most likely because a) you didn’t let your matte medium transfer dry for long enough or b) you missed some of the air pockets as you smoothed out your print on top of the canvas.
Step 5:
Continue to rub off and discard the pulp from your paper print until your entire image has been transferred onto the canvas, and no paper remains on the surface. Let your piece dry, then check your photo. If it looks a bit hazy, then there’s still a layer of paper on your image. Repeat Steps 4 and 5 again to remove the final bits of paper.
Step 6:
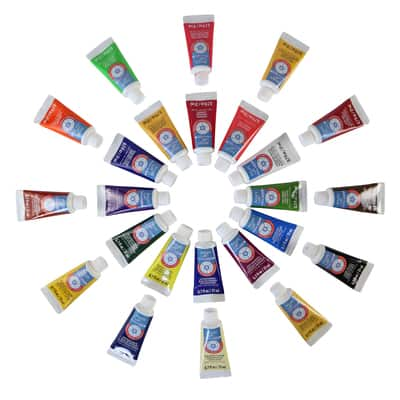
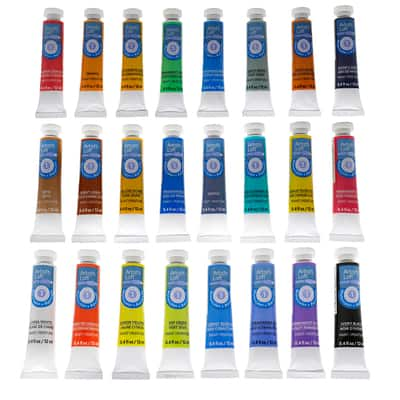
Now it’s time to add color! Find an eye-catching element in your photo and color it in with watercolor paints. Use water to dilute the color, if desired.
TIP: Have fun adding color, and don’t worry about making it look natural or realistic!
Step 7:
Now it’s time to add some background elements. Use your pastels to draw shapes (like stars, circles, squares, etc.) or write some words.
Step 8:
Next, go back to your watercolor paints and use them to layer color directly on top of your pastel shapes or words. Expect a bit of smearing or smudging (that’s ok)!
Step 9:
With a paintbrush and acrylic paint, add a bright contour or outline around parts of the photo’s perimeter. This is a good way to highlight particular areas of your photo.
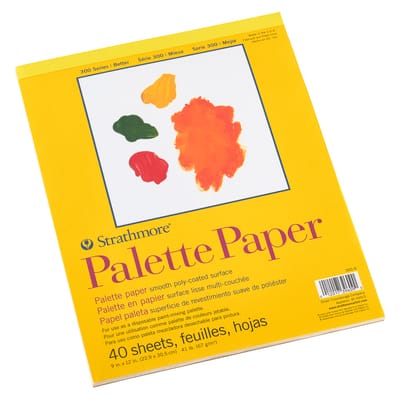
TIP: Working with acrylics is pretty easy! Just blend your paint with a little water on your palette paper. Add more water for a more workable, runny paint, or less water for a thicker application.
Step 10:
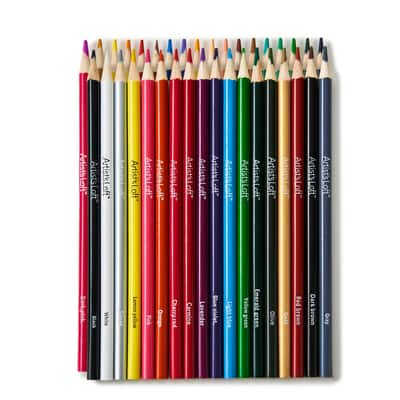
Add a few final stenciled and free-hand elements to your canvas. You can use pencils, pastels or oil pens.
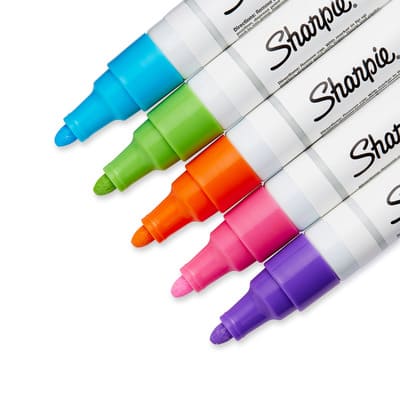
TIP: Feel free to go back in with your pastels and pencils (or even a Sharpie® paint pen) to add any elements or details that make your piece feel complete.
Step 11:
To finish your piece, paint the sides of your canvas with black acrylic paint (for a subtle, refined look) or with one of your accent colors (to help your piece pop once it’s hanging on the wall).
Step 12:
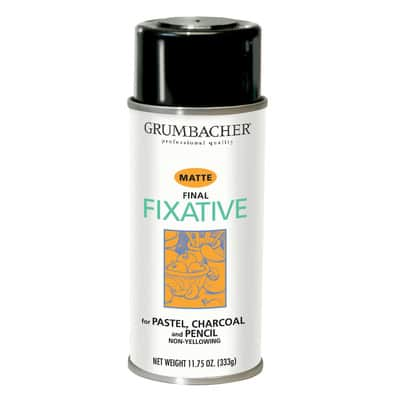
Almost done! Let your piece dry completely; then, in a well-ventilated area, spray with a fixative to protect your artwork from smudging or smearing. Let this dry, too.
Share your project photos with #MakeItWithMichaels
ADDITIONAL MATERIALS
Computer
laser jet printer
smoothing tool
bucket
water
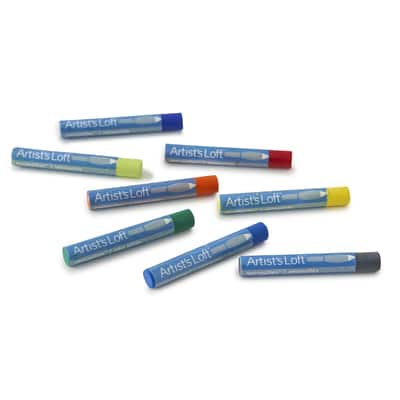
Materials You Need
(8)
$6.74
Reg.$8.99
25% Off Online or Buy One Get One 50% off mix & match in stores
$16.99
25% off Every Regular Price Purchase with code 25OFFNOW Online only
$6.99
25% off Every Regular Price Purchase with code 25OFFNOW Online only
$22.99
25% off Every Regular Price Purchase with code 25OFFNOW Online only
$14.99
25% off Every Regular Price Purchase with code 25OFFNOW Online only
$22.99
25% off Every Regular Price Purchase with code 25OFFNOW Online only
$32.99
25% off Every Regular Price Purchase with code 25OFFNOW Online only
$7.99
Reg.$15.99
50% Discount Available online only. Buy one item at regular price & get the second of equal or lesser value free available in store. Excludes clearance.
Materials Items:
$117.68
Tools You Need
(2)

$2.49
25% off Every Regular Price Purchase with code 25OFFNOW Online only
$6.99
25% off Every Regular Price Purchase with code 25OFFNOW Online only
Total Items:
$9.48
We would love to hear from you!